Manually delete one or multiple provisioned projects and their underlying assets if you no longer need them.
You can't recover deleted projects in Smartsheet Control Center. Use the archive function if you want to preserve project data.
How to delete projects
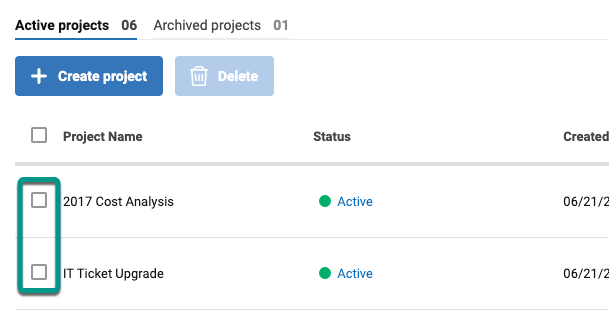
- In Control Center's project list page, select the checkboxes for the projects you want to delete. Select multiple projects to delete if needed.
Brandfolder Image

- Select Delete at the top of the page.
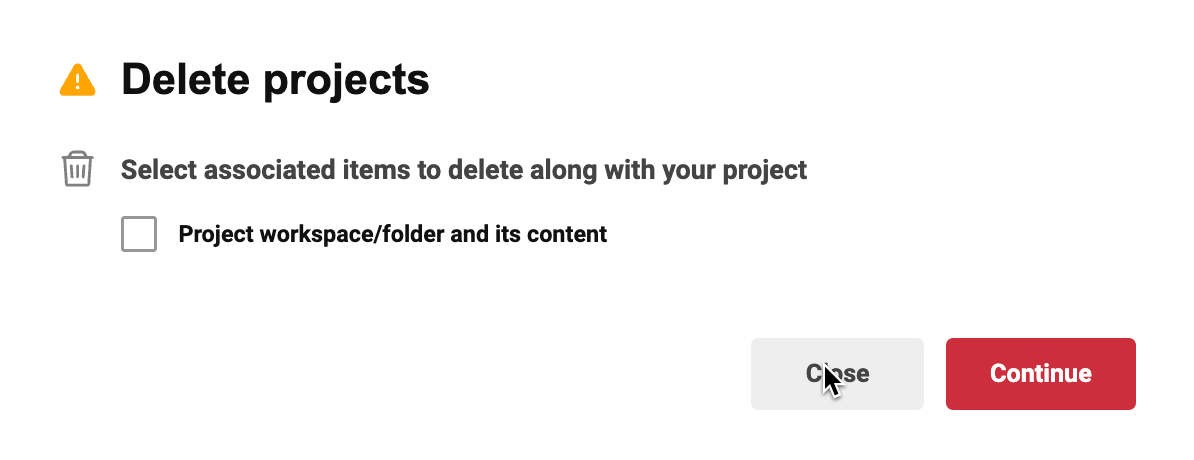
- In the Delete Projects screen, select whether to delete the associated Smartsheet items for that project. The checkbox is unselected by default. If selected, you delete the project folder and everything in it.
If you set up the blueprint to create a new workspace for each project, that workspace will be deleted automatically if there are no other sheets, reports, or dashboards in it after you delete the project folder.
Any collections or file library items in the project workspace will be deleted as well.
Brandfolder Image

- By selecting the checkbox, you choose to delete the following:
- Project WorkApp
- The project folder and all items in it. This includes the items created via the template associated to the blueprint, as well as any additional items that were manually added to that project.
- The project workspace and any collections or file library items in it. This happens only for workspaces created by Control Center. If you created any sheets, reports, or dashboards within the workspace, and those are still there after deleting the project folder, then the workspace remains and can’t be deleted until it’s empty.
- Intake row
- Summary row
- Resource Management project, if applicable. In the pop-up window, leave the checkbox unmarked if you want to keep your Resource Management project.
When deleting from a Multi-tier Control Center solution, if you delete the parent project, you delete the associated child projects.