Add, arrange, or remove form fields even after you have created your form.
To start editing form fields, go to the form builder.
- Select Form > Manage Forms.
- Open the form you need to customize.
If you use a Free version of Smartsheet, you can create forms, but you can’t share them.
Add, arrange, and remove form fields
You can do the following actions in the form builder.
- Remove a form field
Hover over the field and select the trash can icon to remove it.
- Add a form field
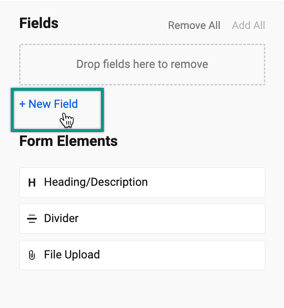
Select +New Field on the left panel or the plus icon below the fields in the form builder.

- Move the form field
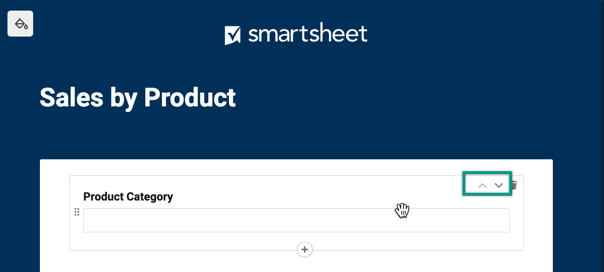
Select the up or down arrow to move a form field up or down. You can also select and drag the form field to where you want to place it.

- Remove all fields in the Fields panel
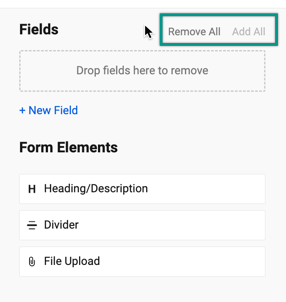
Select Remove All on the left panel.
When you remove a field from your form, you don't delete the corresponding column from the sheet.
- Add all fields in the Fields panel
Select Add All on the left panel.

- Add form elements
Add a Heading/Description, Divider, or File Upload field directly from the left panel.
Edit your field settings
To edit a field, select it in the form builder to access the Field Settings panel. You can select from these two tabs:
- Field: Modify a field’s label and other properties
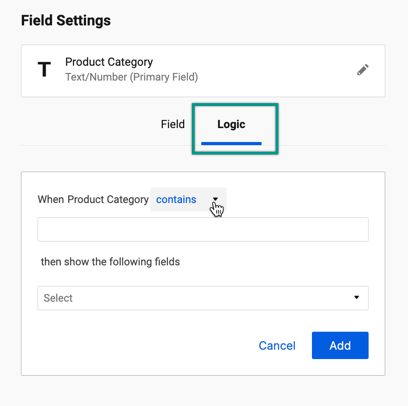
- Logic: Define what happens based on the values the user selected in the form field
To edit the form field settings
Select a field and edit its properties in the Field Settings panel.
| Use this | To do this |
|---|---|
| Column Properties box | You can view and edit the column name, type, and properties, such as the contact list values or dropdown values. |
| Label | Choose to either use the column name or a custom label as the name of the form field. |
| Help Text | Add a description, instruction, or help text to appear underneath the form field. You can also include a hyperlink (which opens in a new tab) or link to an email address that opens in the respondent’s email client of choice.
If the links don't work as expected, edit the form, remove the hyperlink, save it, re-add it, and save it again. |
| Required Field | Make a form field mandatory. |
| Hidden Field | Hide the field if you don't want to display it in the form. |
| Validation | To help collect consistent, error-free data, add simple character and pattern-based validation to the Text/Number and Contact List fields in your form. |
| Display As | |
| Default Value | Specify a default value for the field. When the respondent opens the form, the default value appears automatically, but the responder can change it if preferred. |
Tips to edit form field settings
Display As section
Use the Display As section when editing your form to choose how your field appears in the form. Display options vary depending on the column type.
| Column type | Available form field display options |
|---|---|
| Text/Number |
|
| Checkbox |
|
| Dropdown (Single-Select) |
|
| Dropdown (Multi-Select) |
|
| Symbols |
|
Conditional logic
With conditional logic, you can decide when a field appears in your form by setting conditions that need to be met to show your fields. That way, you can show form submitters only the fields they really need.
For example: You want the Deadline field to appear when the user chooses Urgent in the Priority field. If the user chooses Low in the Priority field, the Deadline field doesn’t appear even if it’s required. It only appears when the user selects Urgent in the Priority field.

Hidden and Default value features
You can include a certain value in a specific column without the form submitter completing that question.
To do this, use the Hidden and Default Value features together. For example, you want Open to be the default value in the Status field, and you don't want the user to see that field. Set the Status field as a hidden field. Then, in the Default Value box, select or type Open.
If you don't specify a default value, you can remove the hidden field from the form instead.
System columns in forms
You can't add System columns in forms. However, you can add System columns to the sheet to automatically track certain information, such as the date and time of the submission.